Freebie: S'Mores and More Invitation Downloads
It’s one of our favorite times of the year and we are so excited about all of the breezy, beautiful and colorful outdoor gatherings that can take place this time of the year. If you’re like us, you love a good outdoor cookout, bonfire or get-together and we’ve teamed up with Sinkology to bring you a backyard bash invitation printable that is sure to set your fall event planning ideas ablaze!
Here are a few of our tips for making your invitations pop:
ADD ENVELOPE LINERS
This is easily done by grabbing your favorite scrapbook paper from the craft store. Trace the outline of the envelope with the flap open and on the backside of your scrapbook paper (make sure to line up the envelope over the items that you want to be featured on the liner). Once you’ve traced the outline, start trimming just inside the lines. Once you’re finished, trim off the bottom of the scrapbook paper liner to make it shorter than the envelope. Glue or tape into place and you’re ready to mail!

Step One: Select your envelopes and scrapbook paper choice(s).
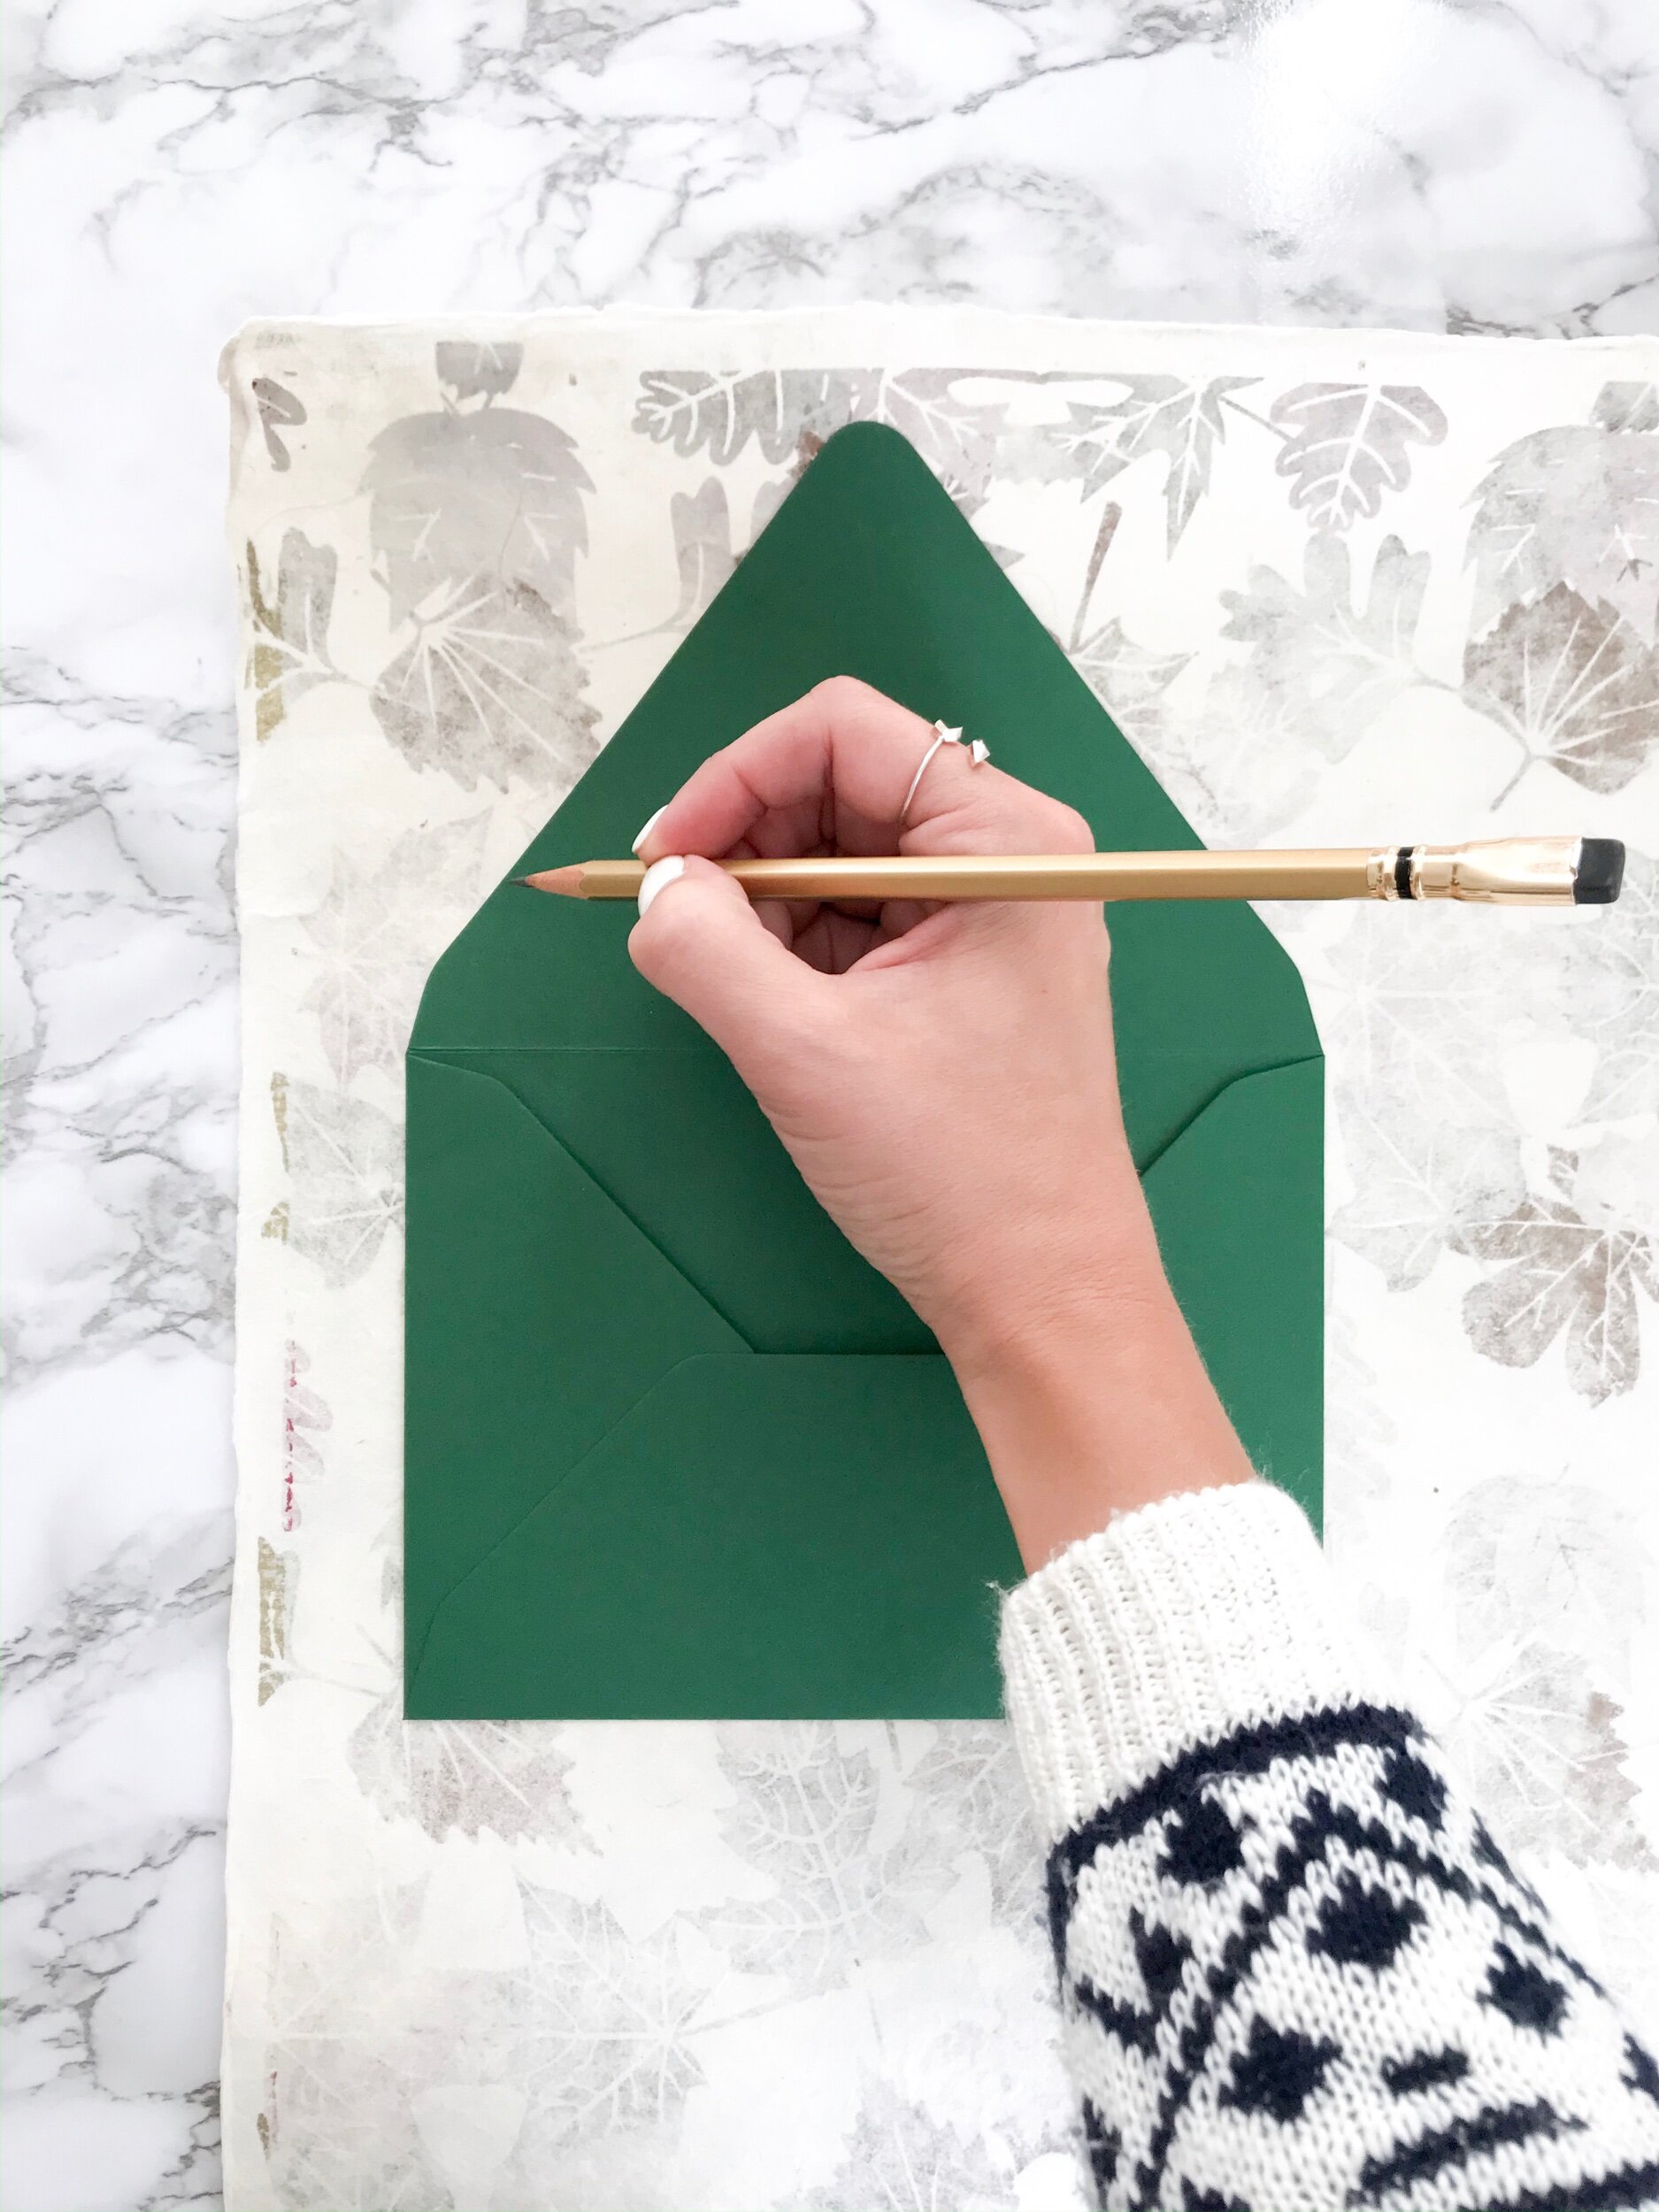
Step Two: Trace your envelope on the backside of the paper.

Step Three: Glue or tape down your liner.

Step Four: Address and mail to your guests!
DUPLEX INVITES WITH COLOR
Use a spray adhesive to spray a sheet of scrapbook or cardstock paper and lay your printed invitation on top. Press together firmly and wait a few minutes for it to dry. We recommend NOT cutting out your invitation prior to adhering to your other paper in order to get the best trim in the end. Once everything feels dry (this doesn’t take long!), take it to your paper trimmer and cut it down to the 5x7 size. Voila! a beautiful front and back invitation!

Step One: Choose your paper for the backside of your invitation and grab your spray adhesive.

Step Two: Spray the backside of your scrapbook paper. NOTE: We highly recommend doing this outside!

Step Three: Press the untrimmed invitation on the sprayed scrapbook paper.

Step Four: Trim your invitation with the adhered paper all at the same time to ensure the most even cuts!