DIY: Seasonal Doormat + Wreath
Seasonal Doormat
One of our favorite workshops we did this year was our seasonal doormat. This is such a quick and easy way to dress up your front door and you don’t have to break the bank. Doormats with sayings, words or phrases are so popular right now and creating your own is as easy as the following steps:
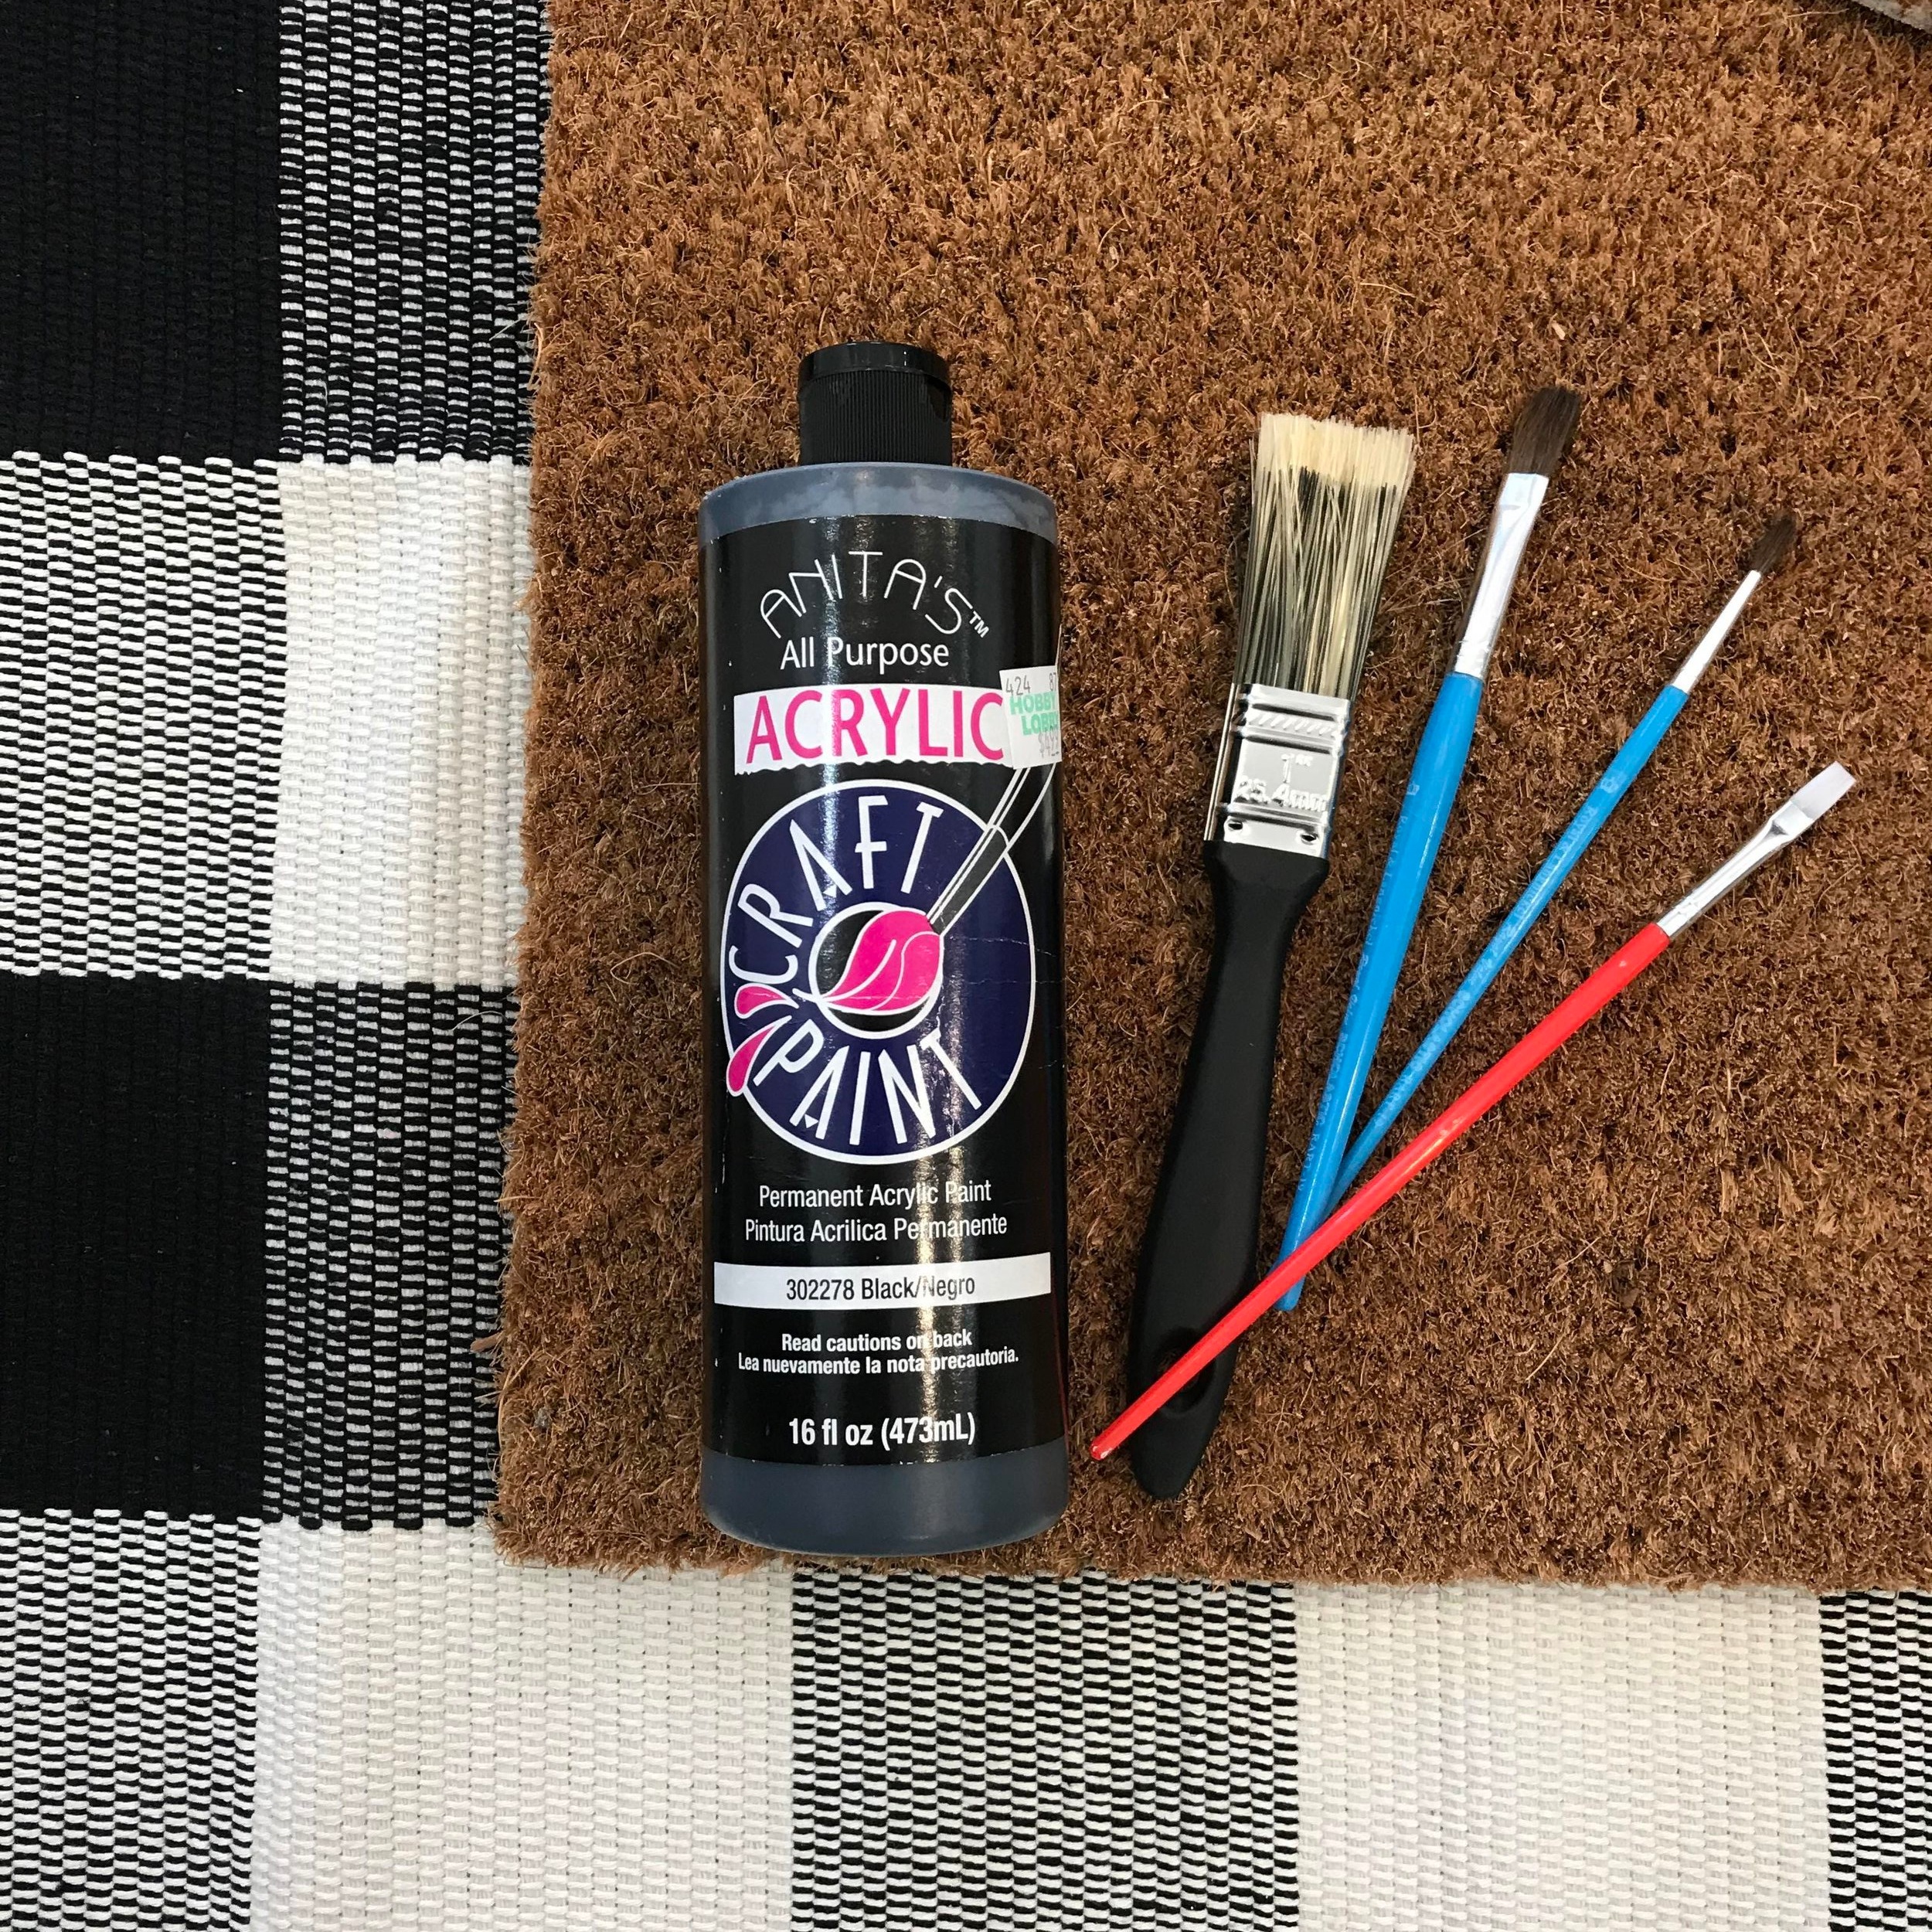
supplies list

directions
The steps to create your own rug are so simple and once you have your seasonal stencil pack, you can create a new rug for every holiday, season, etc. For our workshops, and in the rugs we’ve used at our own homes, we don’t use an outdoor paint on the rugs. We have never had any trouble with keeping the lettering on them; however, we both have covered porches. If your rug might face the elements, wear and tear, etc. consider an outdoor acrylic paint.
Step One
Determine which stencil you’d like to start with and place it on your doormat. You can choose to get creative and maybe offset the stencil to the right, left, bottom, top, etc. For this DIY we chose to to place the stencil directly in the middle. We did not affix the stencil with anything, but simply just held it in place. You could chose to tape this down to better hold in place.
Step Two

Apply your paint heavily inside the stencil. Because these mats are dense, you will apply more of a “jabbing” motion than a stroke motion. Your paintbrush will likely be unusable by the time this is done, so don’t use a paintbrush that you want to keep long-term. You can choose to use any color of paint that you’d like for this step, we chose simple black for a more classic look, but you are welcome to spice it up with any color.
Step Three
Let it dry and enjoy! Your doormat won’t take long to dry, but give it a few hours before you place it out in front of your home for guests to enjoy. We chose to layer our doormat over a buffalo check mat to add some additional texture and dimension, but this is not necessary.
Seasonal Wreath
This beautiful wreath is simple to create and can be used year round indoors or out. With a quick little trick to make this wreath on the “cheap”, this wreath is a budget-friendly DIY for any home.

supplies list
Scissors
step one
Start with your eucalyptus garland. This is an inexpensive way to add stems to a wreath without breaking the bank. Use scissors to trim off small pieces of the garland, allowing for some “stem” portions to be able to stick inside the wreath form.

step two
Start by adding eucalyptus pieces throughout the entire wreath. This can be done sparingly, only on one side, etc. However, for our DIY we chose to go heavy on the greens and fully cover the wreath for a more lush look.
step three
Add some pops of cotton by trimming off the long stems and sticking some cotton pieces throughout to add a little dimension. There is no right or wrong way to do this, so just add where you think it needs a little more.
step four
Hang it and enjoy!
