DIY Valentine's Day Garland
If you’ve read our recent post about the next chapter of our business in 2019, you know that we are making some big changes to the way that we bring our crafty ideas to life with all of you. Crafting is such a fun part of our lives and we wanted to still be able to bring you some fun ideas in a new, updated way. So for now, we’re moving them to the blog! So for our next crafting act: A DIY Valentine’s Day Garland.
What we love about this garland is that you can make this for any type of occasion: A baby shower, a bridal shower, a seasonal craft, a birthday party - the sky is the limit with the number of colors you can use and events that you can create this for. So let’s get started on this DIY Valentine’s Day Garland!

Supplies List:
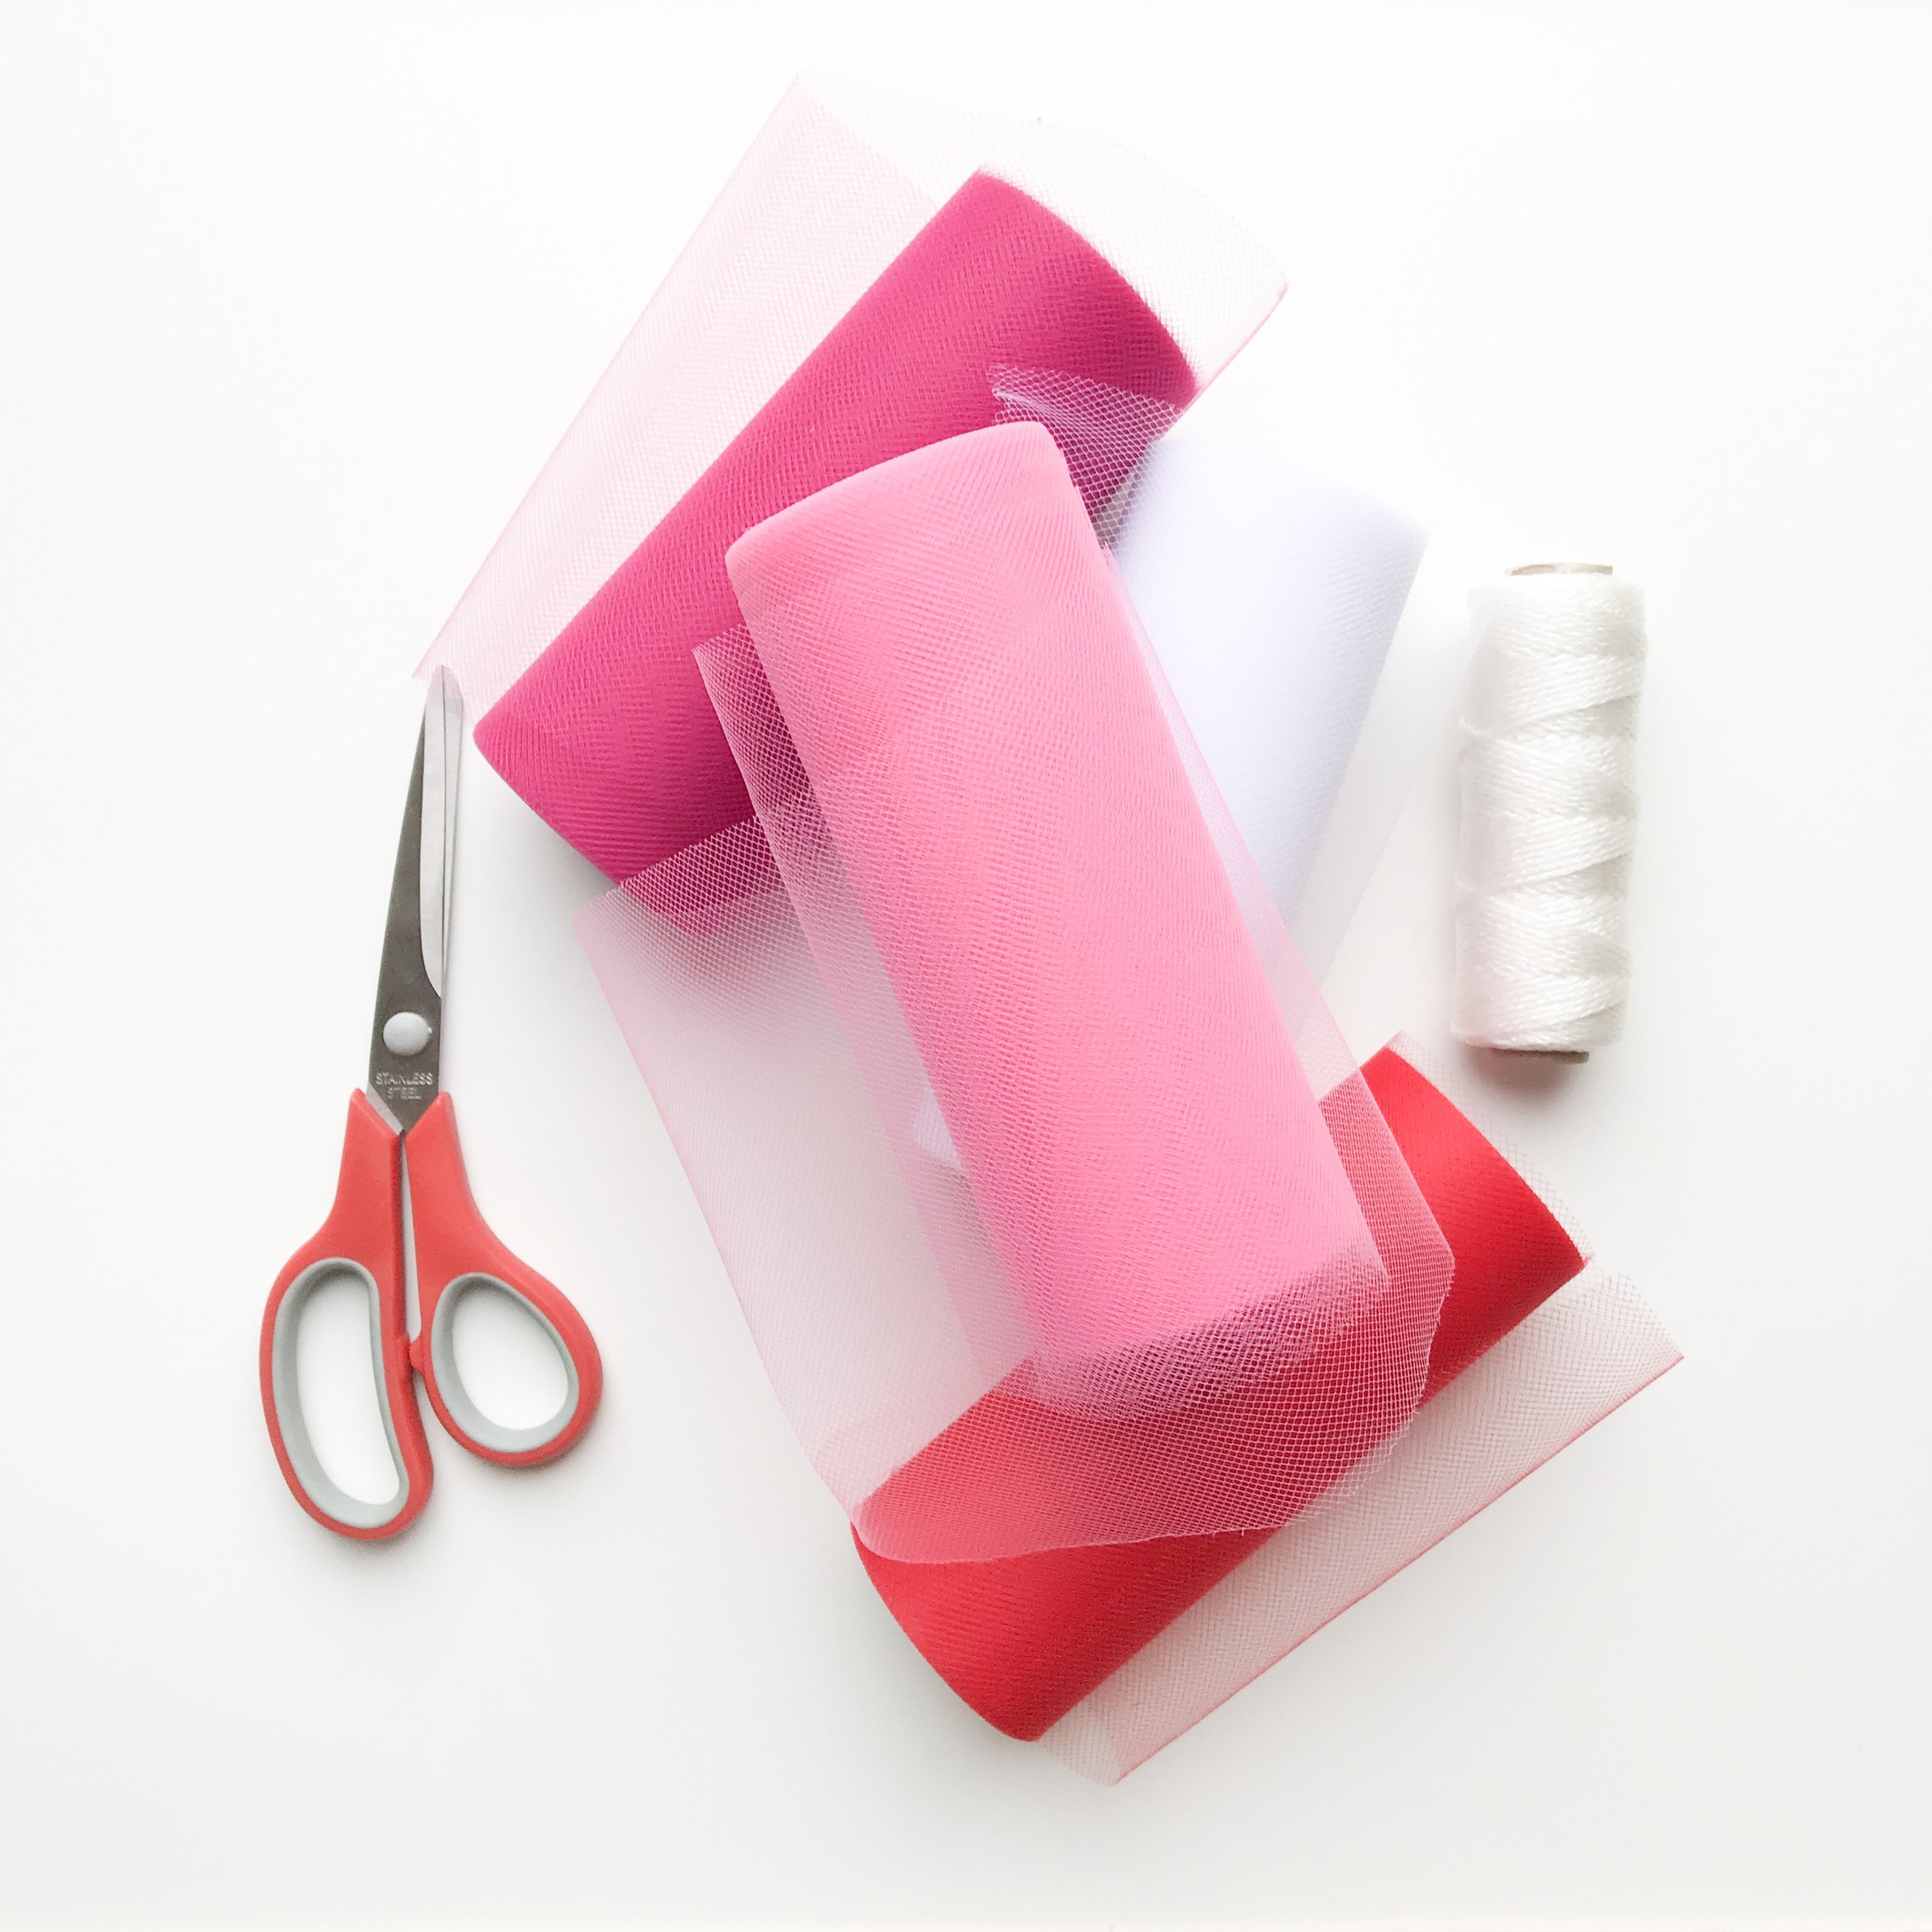
Tulle (this tulle package actually came with these scissors pictured! So if you’re also in need of a new pair of scissors, this is the tulle to get.)
Scissors
Bakers Twine (lots of fun metallic colors to choose from here!)
Cardboard
Circle Shape (any size you prefer)
Sharpie/Pen
Let’s get started with the step-by-step instructions! This is a fairly easy DIY, but if you have any questions, just pop them in the comments section below and we will be happy to answer them.
Step One:

Start by cutting out two circles from your piece of cardboard. This will serve as your tulle puff-ball form. Your circles also determine the overall size of your tulle puff-ball, so consider the circle shape that you want to use. I chose to use a smaller lid from a plastic container, but if you want your puff-ball to be really big or even smaller (or maybe even a variety of sizes) look for different circular shapes to trace and cut out. This may also be a trial and error process to find the best size circle for the look that you want to create.
PRO TIP: Cut up your Amazon box for this. You don’t need any fancy supplies here, so just recycle that box and use if for your tulle form!


Step Two:
After you have cut out your circle, you will need to cut a hole in the middle of each cardboard circle, making them into a “donut” shape. Try to keep consistent spacing between the outer edge and the new inner circle, but it doesn’t have to be perfectly cut. As you can see from the picture above, we simply cut out some space in the middle of each piece to finish out our form. Both of these pieces together will serve as one form.
Step Three:
Choose which color tulle you’d like to start with (this isn’t important for the garland order, as we will discuss tying them together into the garland later). Take the roll at about eye level, hold onto the loose end of the roll and drop the remaining part of the roll to the ground. This is about the length of tulle that you will need to make your first puff-ball. Cut it off at the base of the roll, as this will allow you to best weave through your form by having two free ends. Once you have your tulle cut, you will start wrapping.
Place both cardboard forms on top of one another and start wrapping the tulle around the donuts. You can hold the tulle on one side of the cardboard, go inside the “donut hole”, wrap around the outer frame, and the back inside - repeating all the way around the forms until your cardboard is completely covered with tulle.


Step Four:
Yay! You’ve completely wrapped your form in tulle. If you ran out of tulle before you made it all the way around, fear not! Just simply cut some more from the roll and pick up where you left off in your coverage. This doesn’t have to be perfect - all of the pieces will be tied together in the next few steps, so not everything has to be “attached” from that first long piece of tulle.
Now that you have your form completely covered, here is where those scissors come in. You will want to take your scissors and place the open blades between the two pieces of cardboard to start cutting the tulle in half. Once you have the scissors in your hand with the blades open, wiggle that bottom blade in between the two pieces of cardboard and start cutting. You will want to make sure that you hold onto the form as tightly as you can with the other hand so that you don’t lose any of the tulle pieces as you cut them apart.
Step Five:
Now that you have cut through your tulle and have pieces sticking from each side of the middle of the form, take a piece of bakers twine and string it through the middle of the cardboard pieces (as pictured below). You will want to make sure that you are only going through the middle of the form and that you didn’t catch any of the pieces of tulle that are sticking out on your way into the middle. Once you have the string threaded up through the middle, tie them together tightly into a knot. This will be creating your ball and you want to make sure that it stays together for the long-haul, so tying a really good knot will be important here.


Step Six:
Once your knot is tied tightly, pull off both pieces of cardboard and “fluff” your ball a little, spreading out the pieces as best as you can to really create a full shape. You will notice that there will be some pieces that might be a little bit longer and you will want to trim those down so that you really round out the overall shape to look like a nice ball without randomly long pieces. If you want to make these balls into a garland, we recommend leaving a bit of the tails from the string from Step Five so that you can tie the ball onto a final string for hanging as garland. You might, however, choose to make really long tails in Step Five and simply hang the balls individually (i.e., from the ceiling or the under side of your mantle, etc.). We used the remaining tails to tie the balls onto a longer piece of bakers twine, measuring the spacing of each to create the garland.


After you have finished rounding everything out, and attaching the balls to a separate string, choose where you’d like to hang it and enjoy! This is a very simple process that can be repeated with larger or smaller forms to create bigger or smaller balls that can be used in a variety of ways - so use your imagination and get creative with what you make from them. Comment below with how you plan to use yours in your own space!
*This post may contain links to affiliate pages. For more information on our affiliate programs, please visit our Privacy and Disclosure Page.

